
 1 / 3-20%
QNAP QSW-2104-2T-R2 Switch 10" Mini Rack Mount - 1U
$ US shipping Arrives
- QNAP QSW-2104-2T-R2
At a glance
- Rack
- 10" mini rack, 1U tall
- Material
- PETG, which holds its shape near warm gear where PLA softens
- In the box
- The printed mount
- Not included
- Rack screws. Use whatever your rack takes.
- Made
- Printed to order in Illinois
Fits the QNAP QSW-2104-2T-R2 switch in a 10" mini rack, 1U.
FITS
- QNAP QSW-2104-2T-R2
KEYSTONE OPTION
Choose one at checkout:
- No Keystones. Just the mount.
- +1 Keystone. One holder to the right of the switch, with an RJ45 keystone jack and an Ethernet cable included.
- +2 Keystones. One holder on each side of the switch, with two RJ45 keystone jacks and two Ethernet cables included.
The jacks and cables come with the keystone options, so you can bring a network drop out to the front of the rack without sourcing the parts separately.
WHAT YOU GET
- One 3D printed mount.
- The RJ45 keystone jacks and Ethernet cables that go with the option you pick.
- Rack screws are not included. Use whatever your rack takes.
MATERIAL
PETG, not PLA. It holds its shape in a warm network closet where PLA starts to soften, which matters next to a 10G switch.
A 19" version of this mount is also listed in my shop. 💬 For any custom design requests please message me.
Fits
- QNAP QSW-2104-2T-R2
- Rack size
- 10"
- Rack units
- 1U
From the guide 10" Mini Rack Mount: Install.
For the 10" mounts, the ones that go in mini racks running 10" rails instead of 19". They come as a single printed piece, so there is nothing to assemble.
What is in the box
- 1 x mount, in one piece.
- Keystone jacks and a patch cable each, if you ordered a version with keystones.
Rack screws are not included.
Rack the mount empty, then fit the device. It is much easier to line up four bolts with nothing in your other hand.

Step 1. Fit the keystone jacks, if yours has them
- Hold the mount so you are looking at the back of the faceplate.
- Line each jack up with its printed opening and push forward until the latch clicks.
Do this on the bench. Once the mount is on the rails you are doing the same job reaching into the back of a cabinet.
Check: the jack does not rock in its opening.
Does your box have a separate flat plate with screw holes? Then yours holds the device captive and assembles in a different order. Follow Mounts with a Back Plate instead, starting now: the device and the plate go on at the bench, before the mount is racked.
Step 2. Bolt the mount into the rack
- Fit cage nuts first if your cabinet has square holes.
- Start all four bolts loose, two each side.
- Let the mount settle in the slots, then tighten.
The oval slots take M6 and #12-24, which covers the mini racks I have seen.
Check your rack screw length before you start. A printed faceplate is thicker than a steel one, so a short screw, or a screw with a washer under it, can run out of thread before it bites. Go up a length or drop the washer.
Step 3. Fit the device
- Slide the device in through the front opening.
- Push until it stops against the bars at the rear corners.
Check: the device's front face sits level with the rack face.
If the front of your mount is a solid plate with no window, the device goes in from the back instead.
What holds the device in
On this mount, nothing clamps it. (Mounts that came with a back plate are the exception: there, the plate holds it captive.) The pocket is cut about half a millimetre larger than the device on each side, so it is a friction fit with the rear bars as a backstop, and the cables do the rest. You can pull the device straight back out later and the mount stays where it is.
A 10" cabinet is small and the run to the back is short, so a stiff patch lead can put real sideways load on the device. Leave a little slack behind it rather than pulling the cable straight to the nearest tie point. If the rack gets moved, a strip of hook-and-loop tape on the tray floor makes the device captive and still removable.
Troubleshooting
A rack bolt will not start
Screw length. See the note in Step 2.
The device will not go in
Check for a stick-on label or a rubber foot first. If it is genuinely too tight, check your device's revision against the model numbers in the listing.
A keystone jack will not click in
Check you are coming from the back of the faceplate, not the front. A firm push is fine. If it feels like something is about to break, stop and message me.
There is a gap around the device and it does not feel snug
That is almost always the clearance cut for the rubber feet on the bottom of your device, and it is meant to be there. Check the device is pushed all the way back against the rear bars. If it is seated and still rattles, send me a photo and I will check it against the design.
The mount will not sit in my cabinet, or the holes will not line up
My 10" mounts are cut to the common 10" rail standard, 236.5mm between hole centres. Mini racks vary more than full-size ones do, so measure the centre-to-centre distance between your rail holes and send me the number. Some 10" cabinets are also narrower inside than the rails suggest, and a wide mount needs about 216mm of clear space between the rails to seat. Do not trim the ears, because the mount then has nothing to sit against.
I think I have the wrong mount
Check the model on the label underneath your device against the model list in the listing you ordered from. Manufacturers reuse names across chassis that are not the same size, which is where most of these come from. If it is the wrong one, message me with your order number and a photo and I will sort it out. Do not modify the part to make it fit, because that ends any chance of me replacing it.
A piece arrived cracked
Message me with your order number and a photo, even if the box looks fine. Printed parts can take a knock in transit that the packaging does not show. I will reprint and post a replacement.
Hardware missing from the bag
Message me with your order number and I will post the rest the same day.
The 19" version is a different part
A 10" mount is a single piece sized to the narrow rail. A 19" mount is a pair of halves. They are not interchangeable. Most of my designs exist in both, so if you have moved racks, the other size is listed separately.

Reviews
Customer reviews
Reviews for this product
Buyer photos 8
Photos tagged "Other mount" show a different 10" mount of ours.
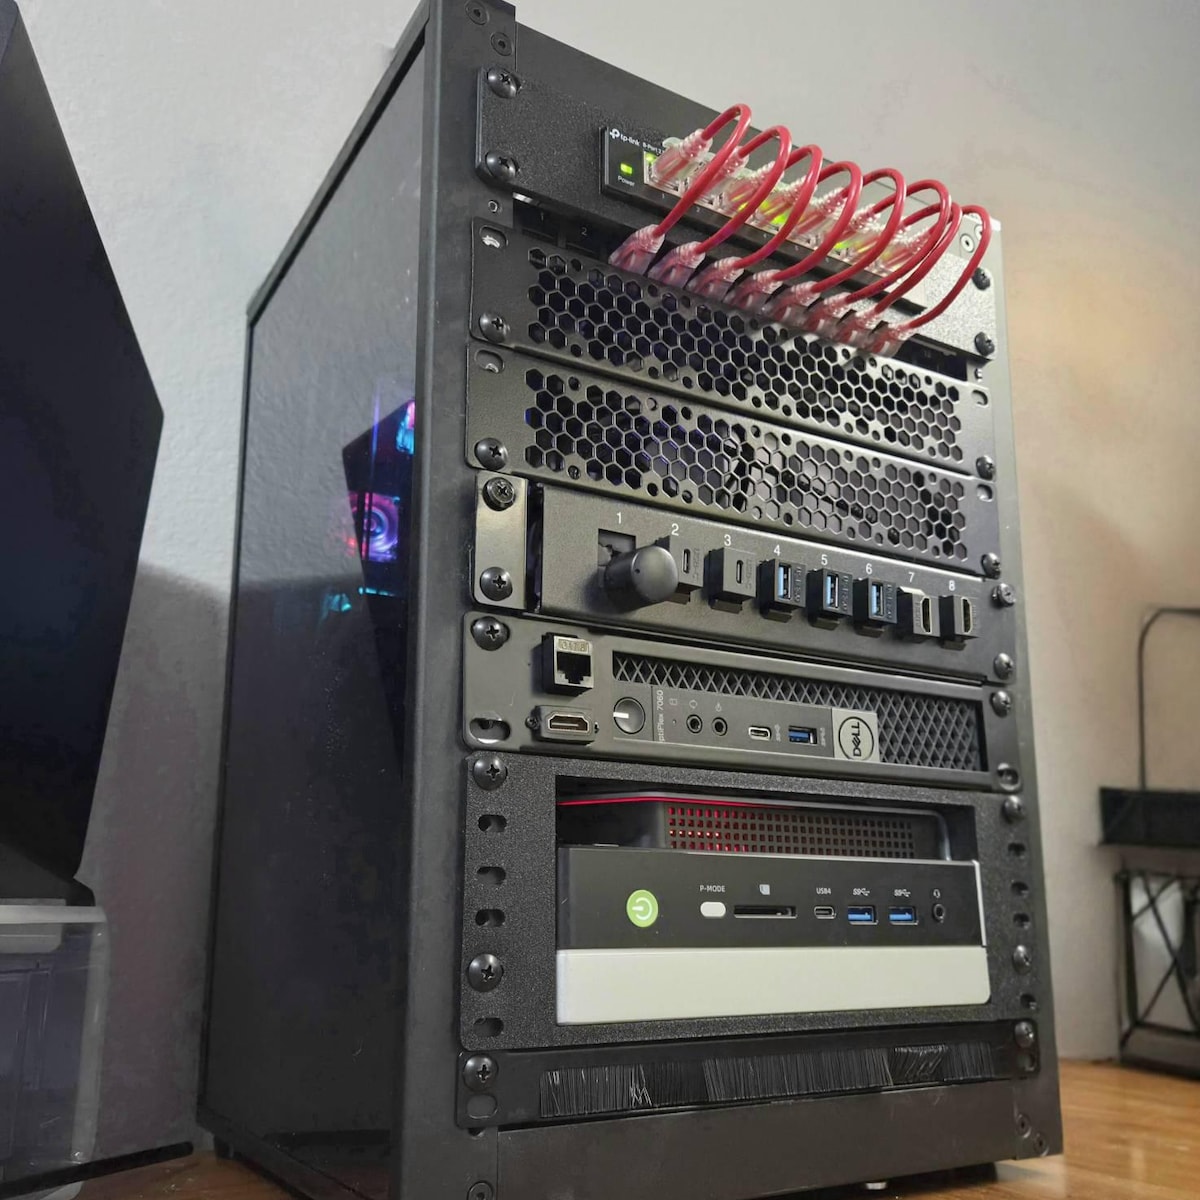
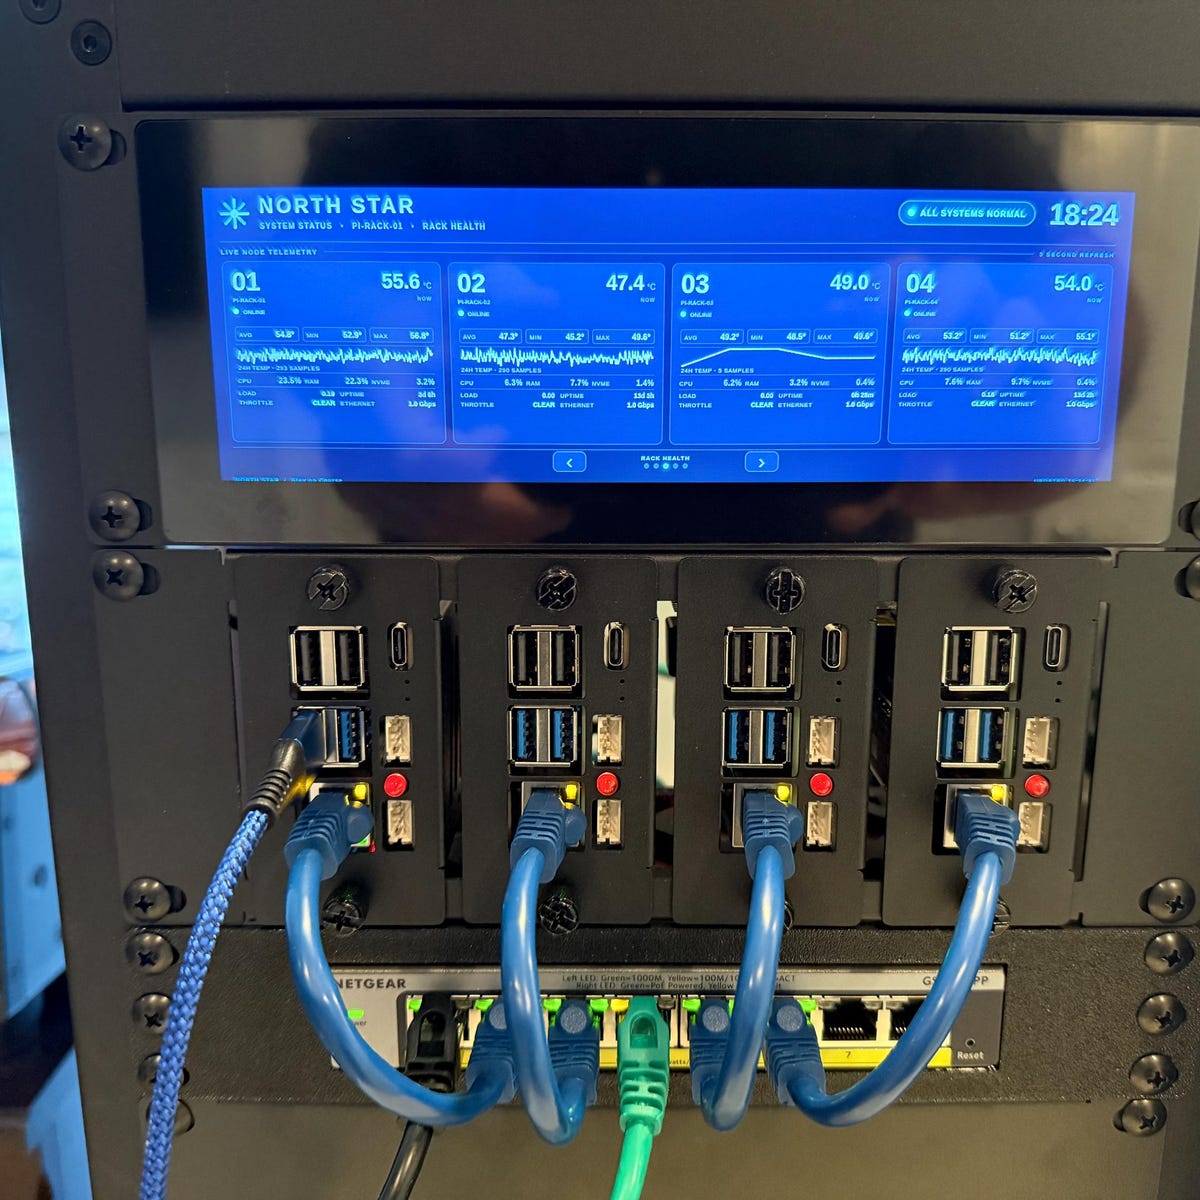
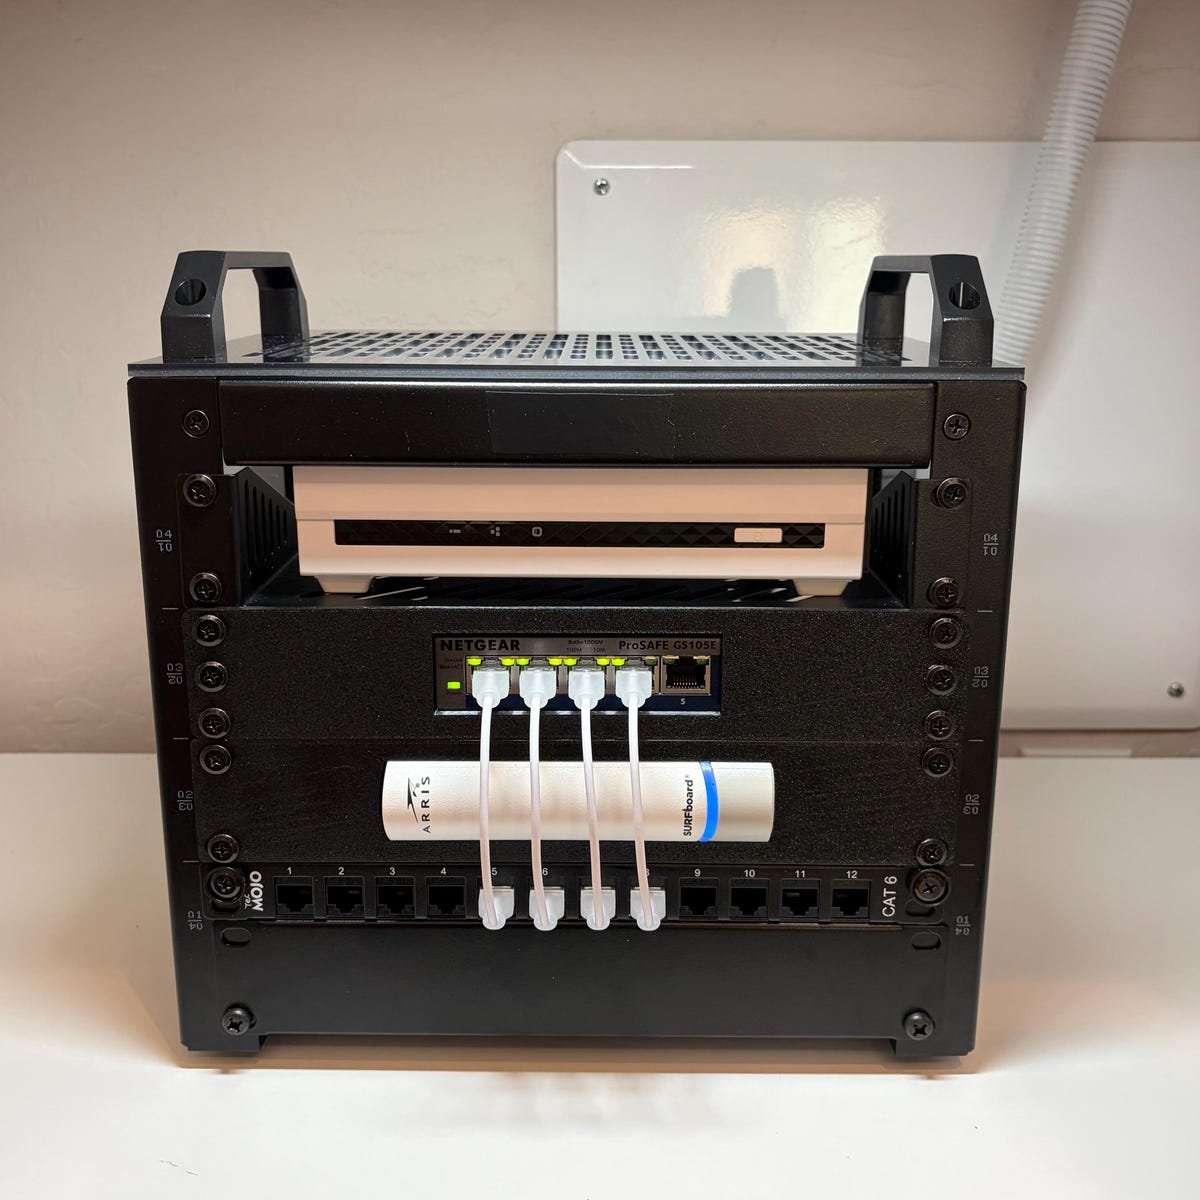
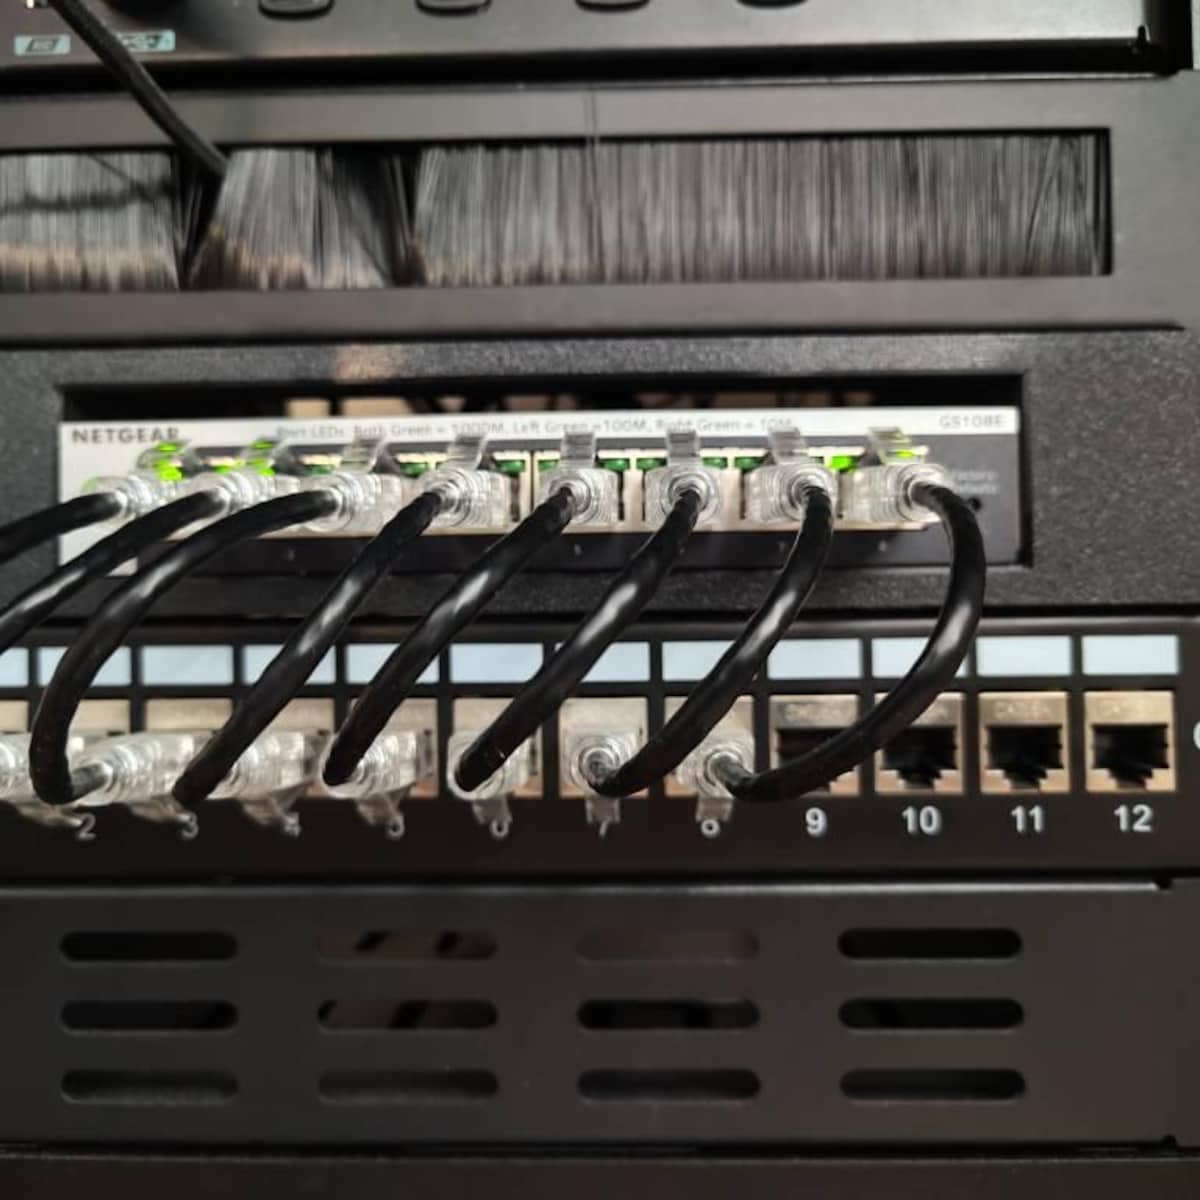
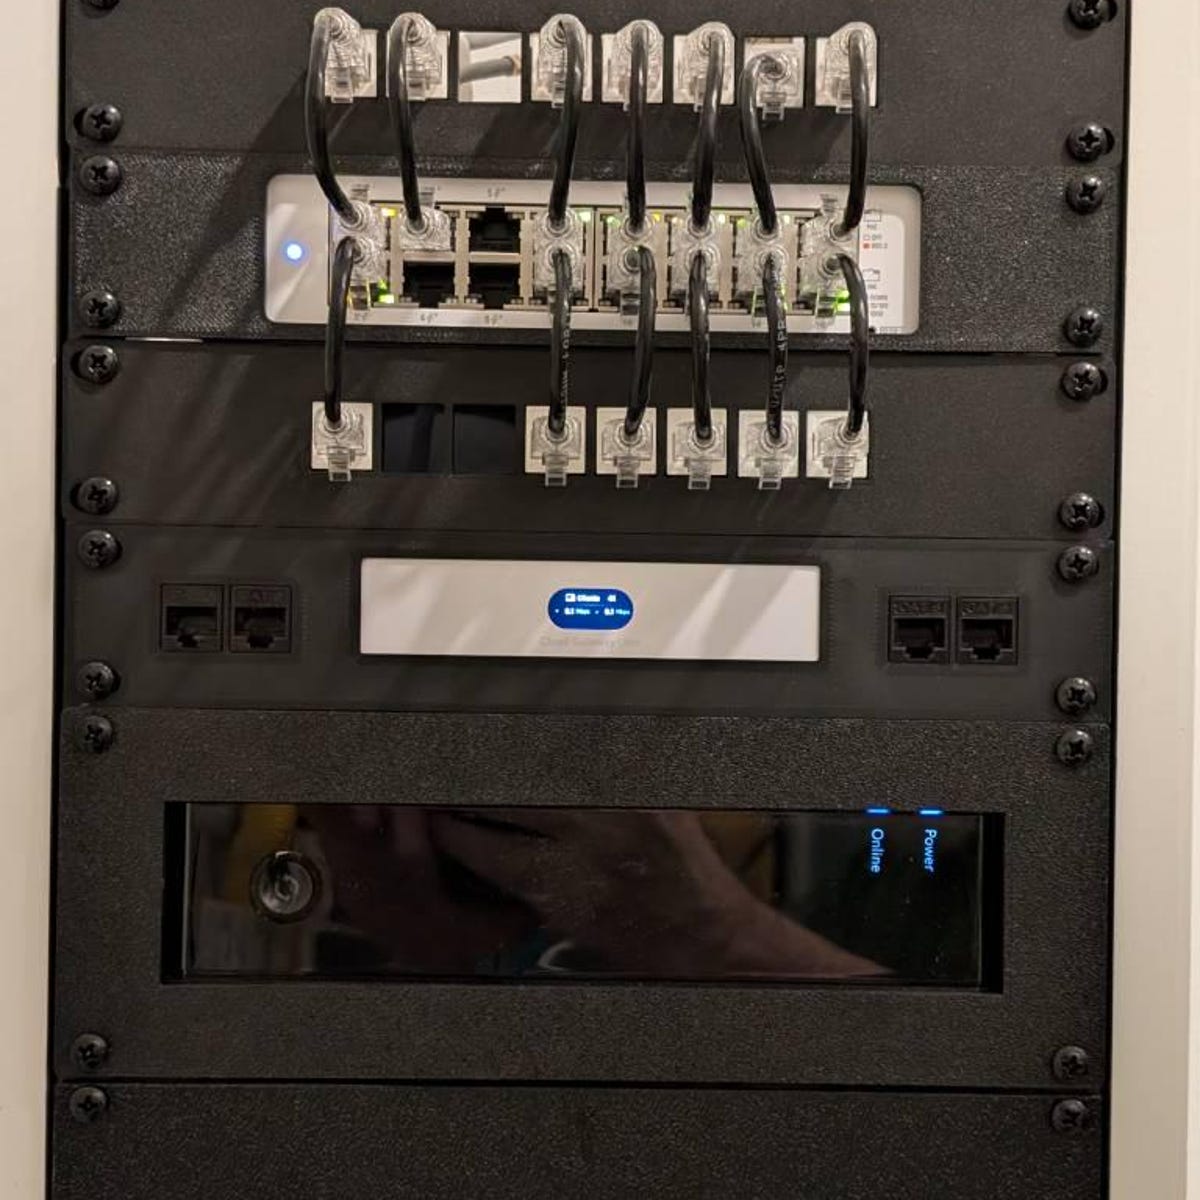
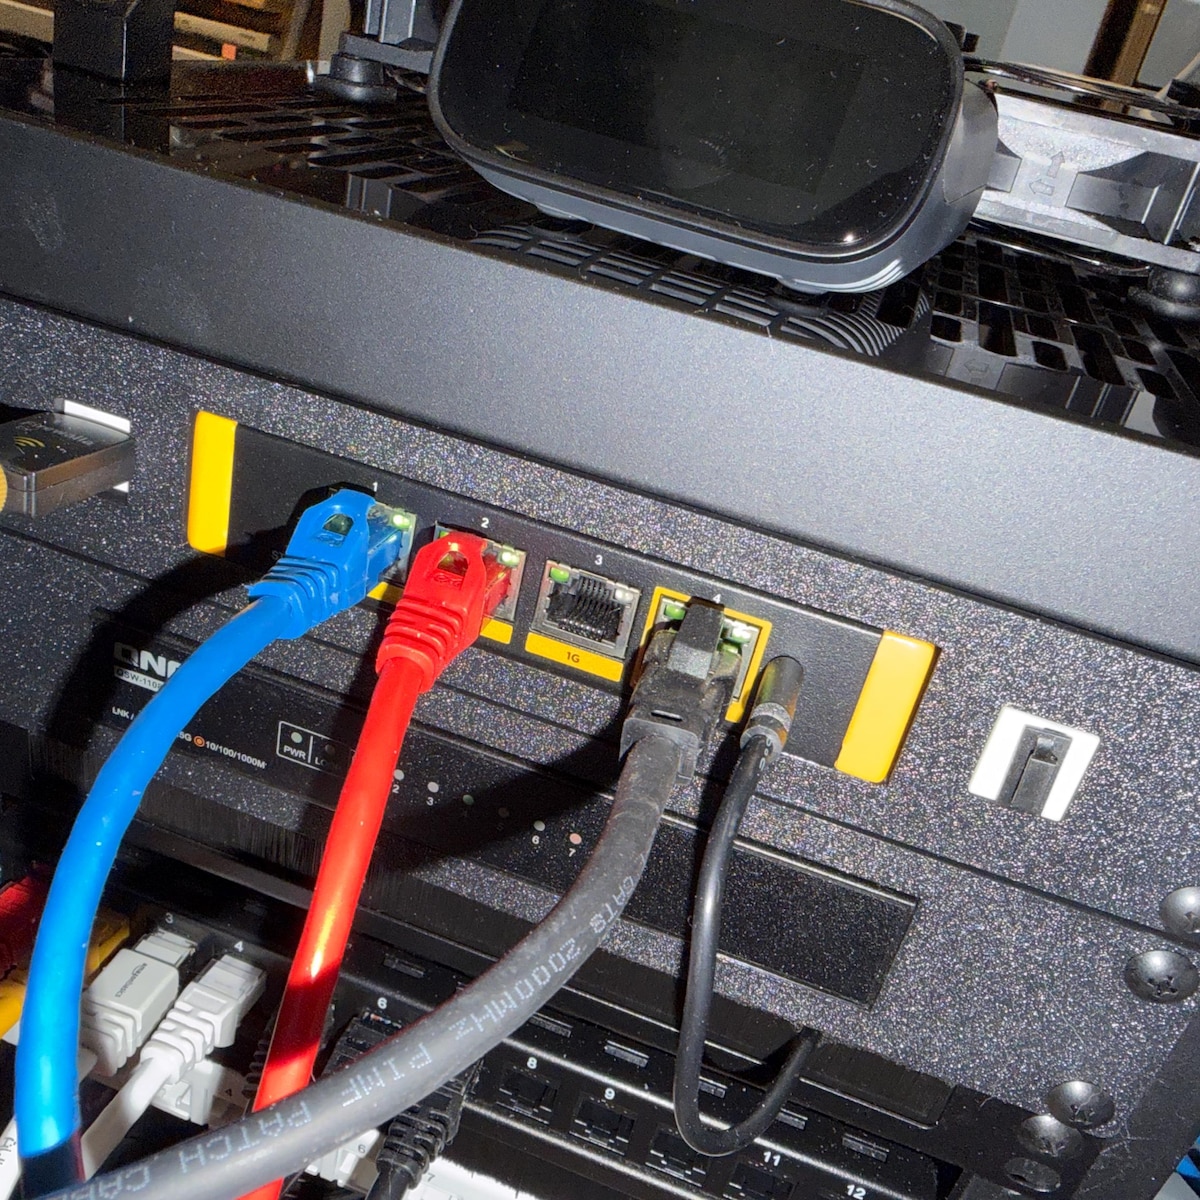
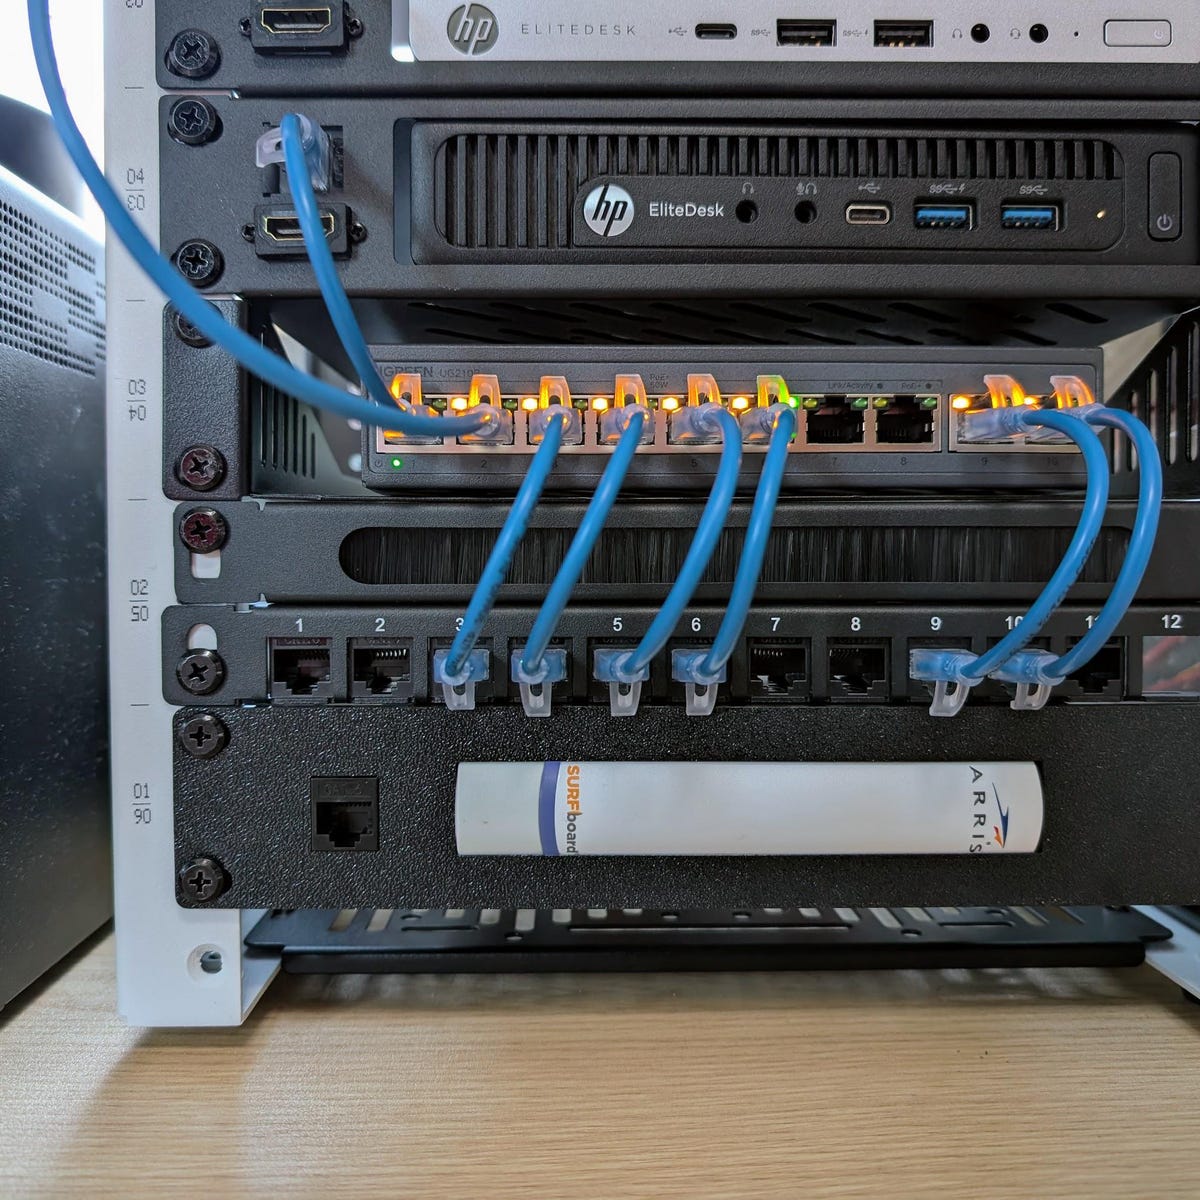
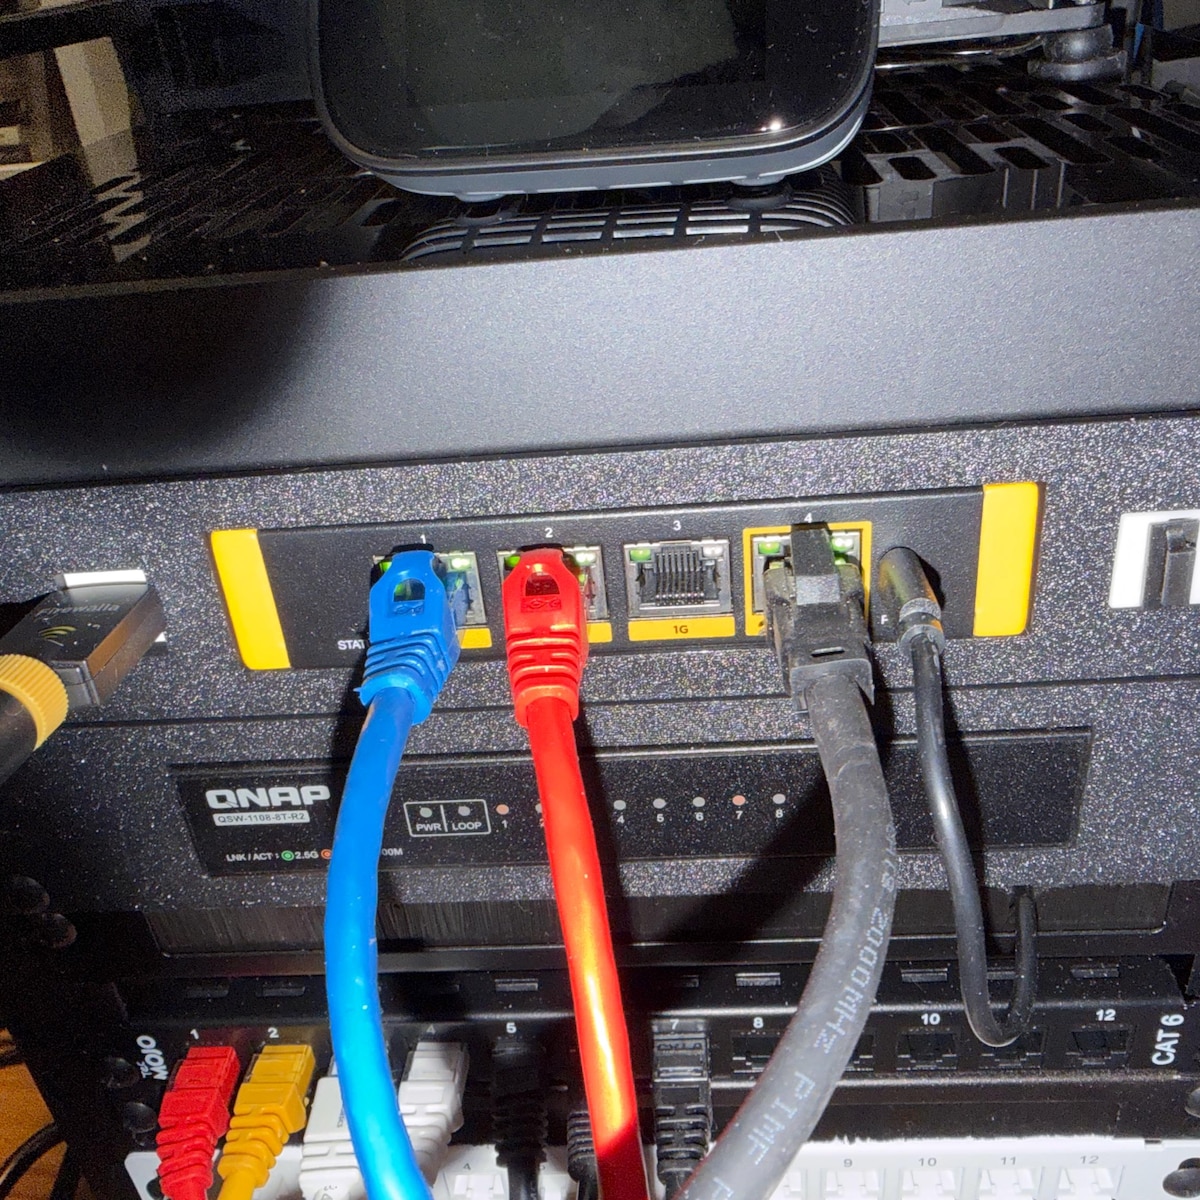
Great communication confirming that a non-listed product would fit. Great quality product that fit perfectly!